
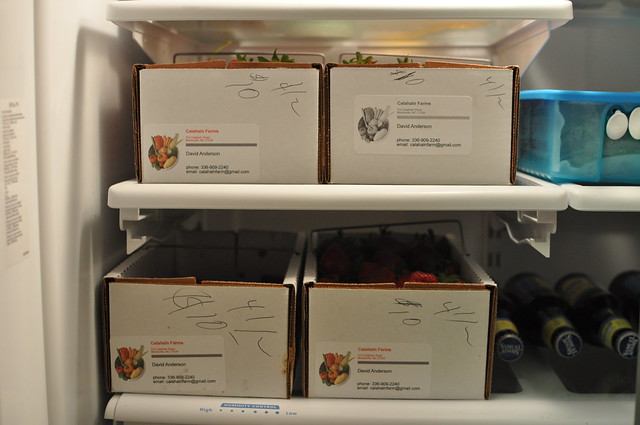
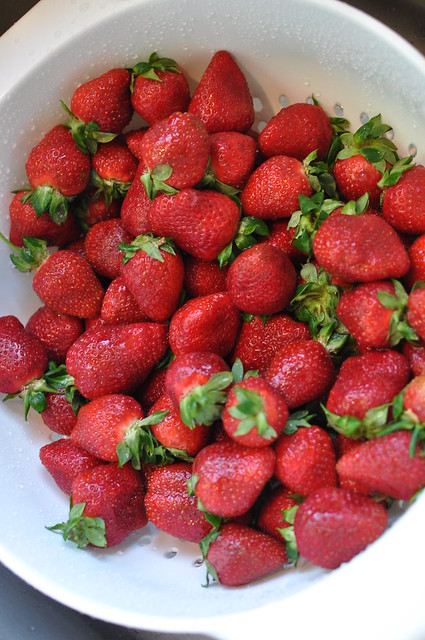
We recently visited to our local Strawberry Farm for our annual strawberry picking. Well, it turns out we were there on BARGAIN DAY - yay!!! They picked too many strawberries the day before, so all the day-old pre-picked berries were half-price. They still looked good, so that's what we chose to buy.
After making 19 half-pints of jam, we still had plenty more berries to use. I didn't want to freeze them, so I looked into making Fruit Leather. I've never done that before, but I was intrigued. Typically it's made in a food dehydrator, but I don't have one so I looked into doing it in the oven. I combined several variations of instructions I ran across here, here, and here, so I'm including what I did below.
Fruit Leather Recipe
Ingredients
- Strawberries
- Water
- Lemon Juice
- Sugar (optional)
Directions
- Rinse the berries, cap and quarter them.
- Place berries in a large covered sauce pot on medium heat. Add half-cup of water for every 4 cups of fruit. Bring the berries to a simmer and let them cook down for 10-15 minutes.
- Either mash in pot or pour into blender/food processor and work until smooth.
- If you or your kids are particularly sensitive to seeds, strain through a cheesecloth to remove. I didn't worry about this.
- At this time, preheat your oven to 120degrees (note: my oven wouldn't go below 170, so that's what I used).
- Add sugar to taste. I found that 1/4cup of sugar for every 4 cups of berries worked well for us.
- Add lemon juice. I just did a hefty splash.
- Simmer fruit until sugar is dissolved and mixture has thickened. About 5-10 minutes.
- Line baking sheet with butter parchment paper. Pour the fruit mixture onto the parchment paper to 1/8inch thickness. (Typically, about 4 cups of cut fruit will fill one baking sheet).
- Bake for a LONG time. I saw times ranging from 10-12 hours. Since my temperature was a bit higher, mine didn't take quite that long - probably closer to 6-7 hours.
- You'll know it's ready when it's dry. Sometimes the edges were ready before the middle, so I just cut it and let the wetter parts in there so the edges didn't overcook.
- Cool and peel off parchment paper. I used kitchen shears to cut into ~6inch long x 1in wide strips, then stored 5-6 strips in FoodSaver bags. Others rolled theirs up in plastic wrap - whatever you feel comfortable with. I'm hoping mine won't be stuck together when I take them out of the freezer, but that may backfire - we'll see.
From what I read, it's OK to keep them at room temperature for 30days in an air tight container. If you made a large batch and want to store them for longer (like I did), then they need to be frozen.
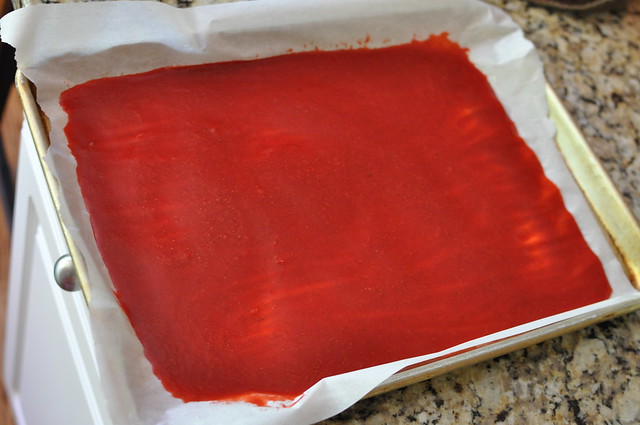
Strawberry Puree before it's dehydrated
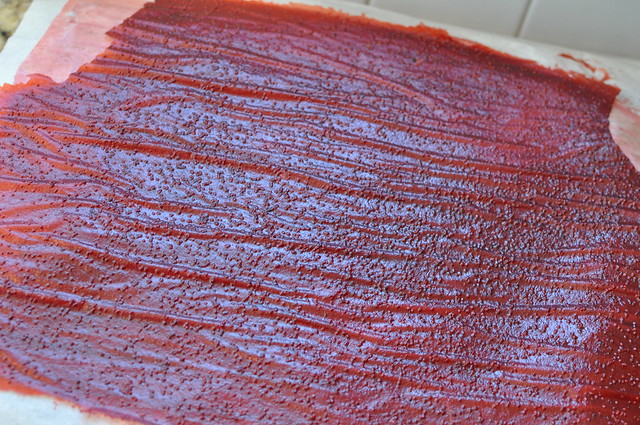
Dehydrated and Cooling
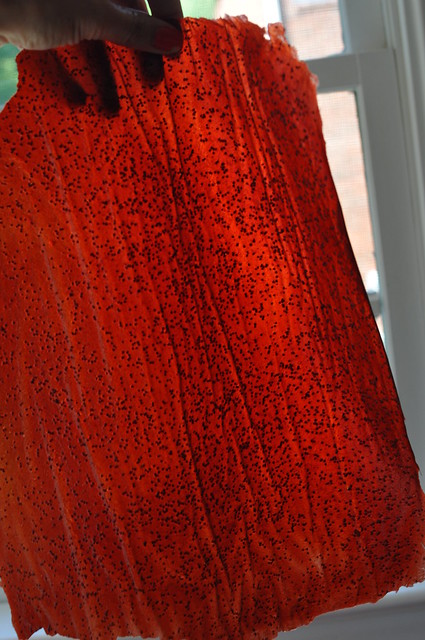
Pulls off parchment paper in one big sheet
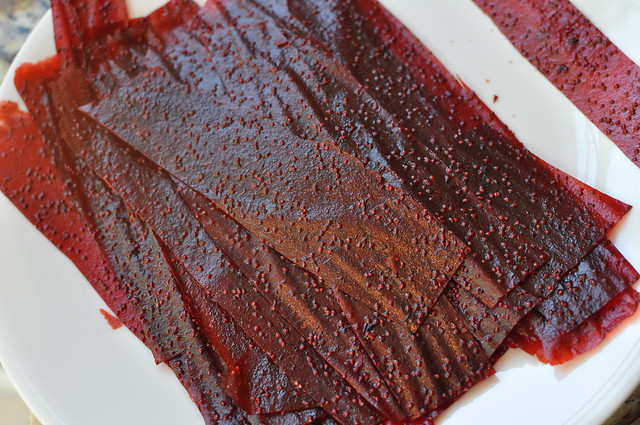
Then cut into small strips
The fruit leather turned out AMAZING! They taste just like a fruit roll-up (according to my husband). Thankfully this chewy candy is full of fruit and not yucky stuff like high-fructose corn syrup.

Sealed in FoodSaver Bags
Here is a chart of various fruits and how well suited they are to make fruit leather.
| Apples | Excellent |
| Apricots | Excellent |
| Avocados | Not recommended |
| Bananas | Fair to good |
| Berries with seeds | Excellent |
| Blueberries | Only in combination |
| Cherries | Excellent |
| Citrus fruits | Only in combination |
| Citrus peel | Only in combination |
| Crabapples | Only in combination |
| Cranberries | Only in combination |
| Grapes | Fair to good |
| Guavas | Only in combination |
| Melons | Not recommended |
| Nectarines | Excellent |
| Peaches | Excellent |
| Pears | Excellent |
| Pineapples | Excellent |
| Plums | Good |
| Strawberries | Excellent |
We'll definitely be trying out some other flavors of fruit leather as the season continues!
Thanks so much for stopping by Becky!
ReplyDeleteAnd yes, it's wonderful to have such space but then you just spread out more : )