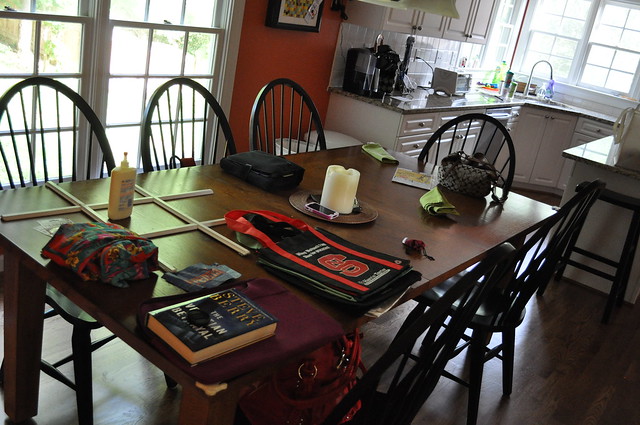
When we come home, we park in the basement garage and then immediately trek upstairs. The first thing you encounter when you open the main floor door is the kitchen table, so that's where we usually dump all of our stuff. So this is what our kitchen table usually looks like.
Not optimal for eating. Obviously we needed a landing zone - a place to drop our bags, keys, and anything else we bring in. Somewhere not on the kitchen table. I was perusing a new-to-me
blog this week (great blog - go check it out!), I ran across this
post & picture.
I immediately
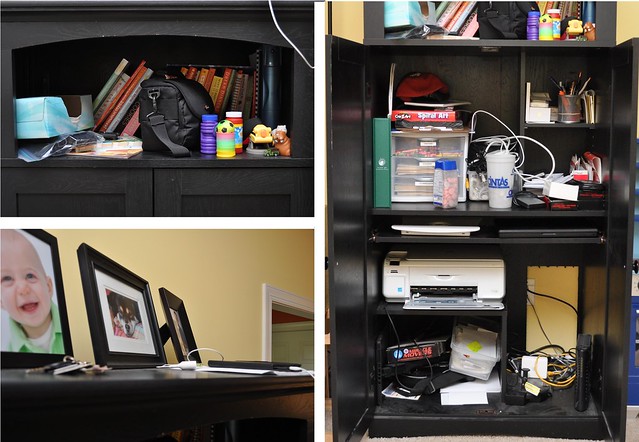
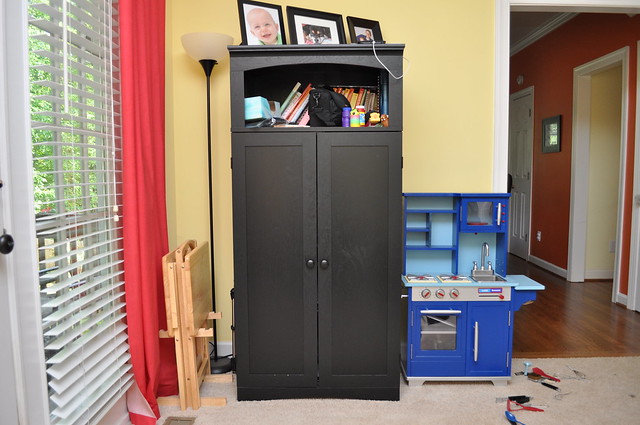
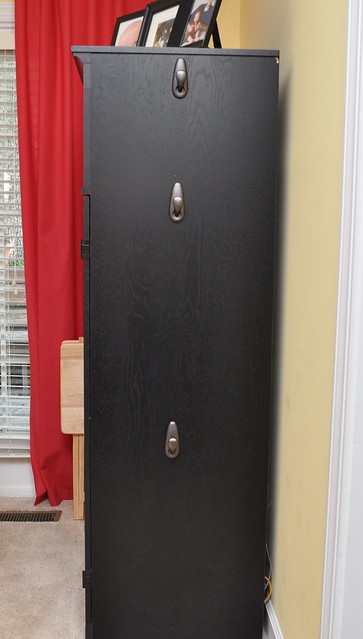
pinned it and an idea started to form. You see, we have a similar black cabinet, right beside the kitchen, that we use as a home office space. Unfortunately, ours was a MESS!
Although thanks to the doors it was mostly concealed.
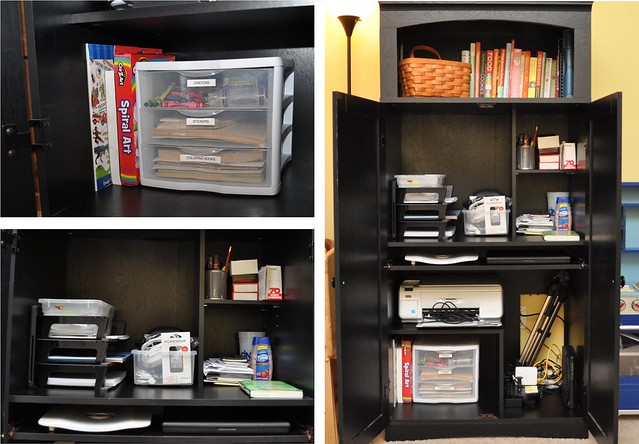
It had been on my "To Do" list for weeks to clean it up, so I jumped in to organize, purge, and clean. It was really dusty.
Now it's SO much better! I even moved Little Man's coloring supplies so he could easily access them.
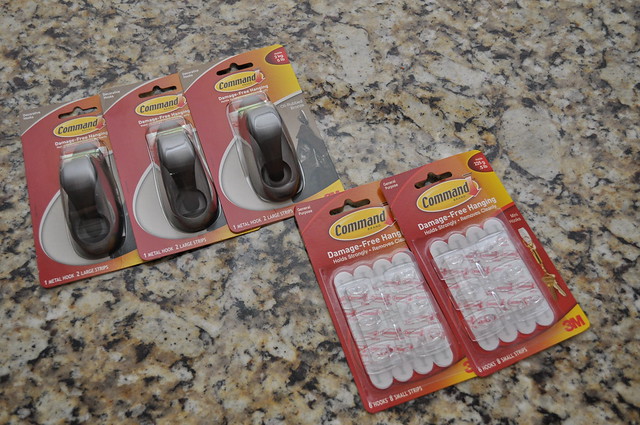
Now it was time to add a bit more organization to transform it into a "Landing Zone". The wood is too thin to use screws, so I bought these command products on a lovely solo-trip to Target.
Key Hooks on the inside of the door to help organize the miscellaneous bowl of keys we previously had.
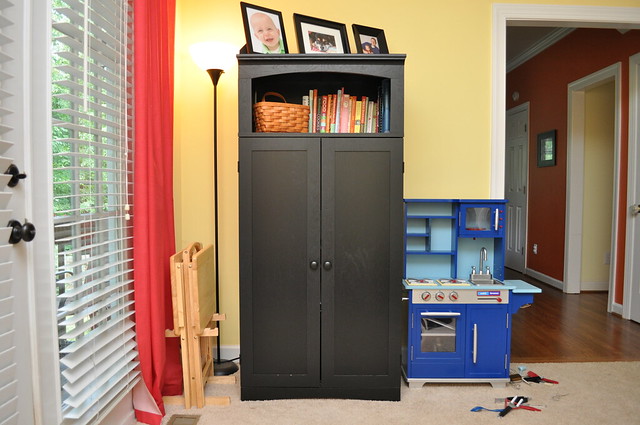
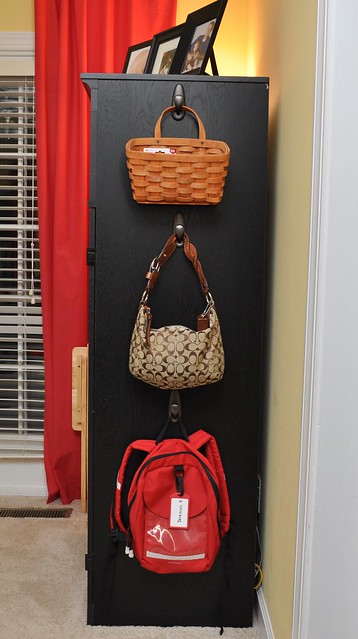
Plus a few large metal hooks...
complete the transformation!
The top basket is for my husband to drop his wallet, keys, & phone. The middle hook is for my purse. The bottom hook is just the right height for Little Man to hang up his little backpack.
These hooks are supposed to hold up to 5lbs. I thought that would be strong enough to hold my purse, but it did fall the other day. Oops! Maybe it's time to clean out my purse.
Now my kitchen table is actually ready to be used for eating!